I finally got around to assembling my little project this weekend. It was both a lot more difficult than I imagined it would be - and at the same time quite easy. Having seen someone else do it ahead of time on YouTube helped: I think I would have had a lot more problems with it otherwise.
The first thing I did was bring all my supplies downstairs to the living room so I could watch TV while working. I cleared off the coffee table and put a couple pillows on the floor to sit at. That worked fairly well, except that the optimum angle for cutting things is not achieved by sitting on the floor, so I had to get up onto my knees more often than not. The huge rug burn I got on my knee from falling down while chasing after Naldo a few days ago did not like kneeling on the hardwood floor - alternately, my lower back issues did not enjoy sitting on the pillows either. Oh well, I got the job done, at least.

Cutting the roll of magnetic material was easy, with only a few mistakes made. The first cut was too small, the second too large, the rest of them all were just right. I can use the mistakes for added strips on the back of the pages if I want to. I even have some left over for if I ever want to do something else with it. Maybe a magnetic frame up on the wall to place my most-often-used tools in a handy easy-to-reach location?

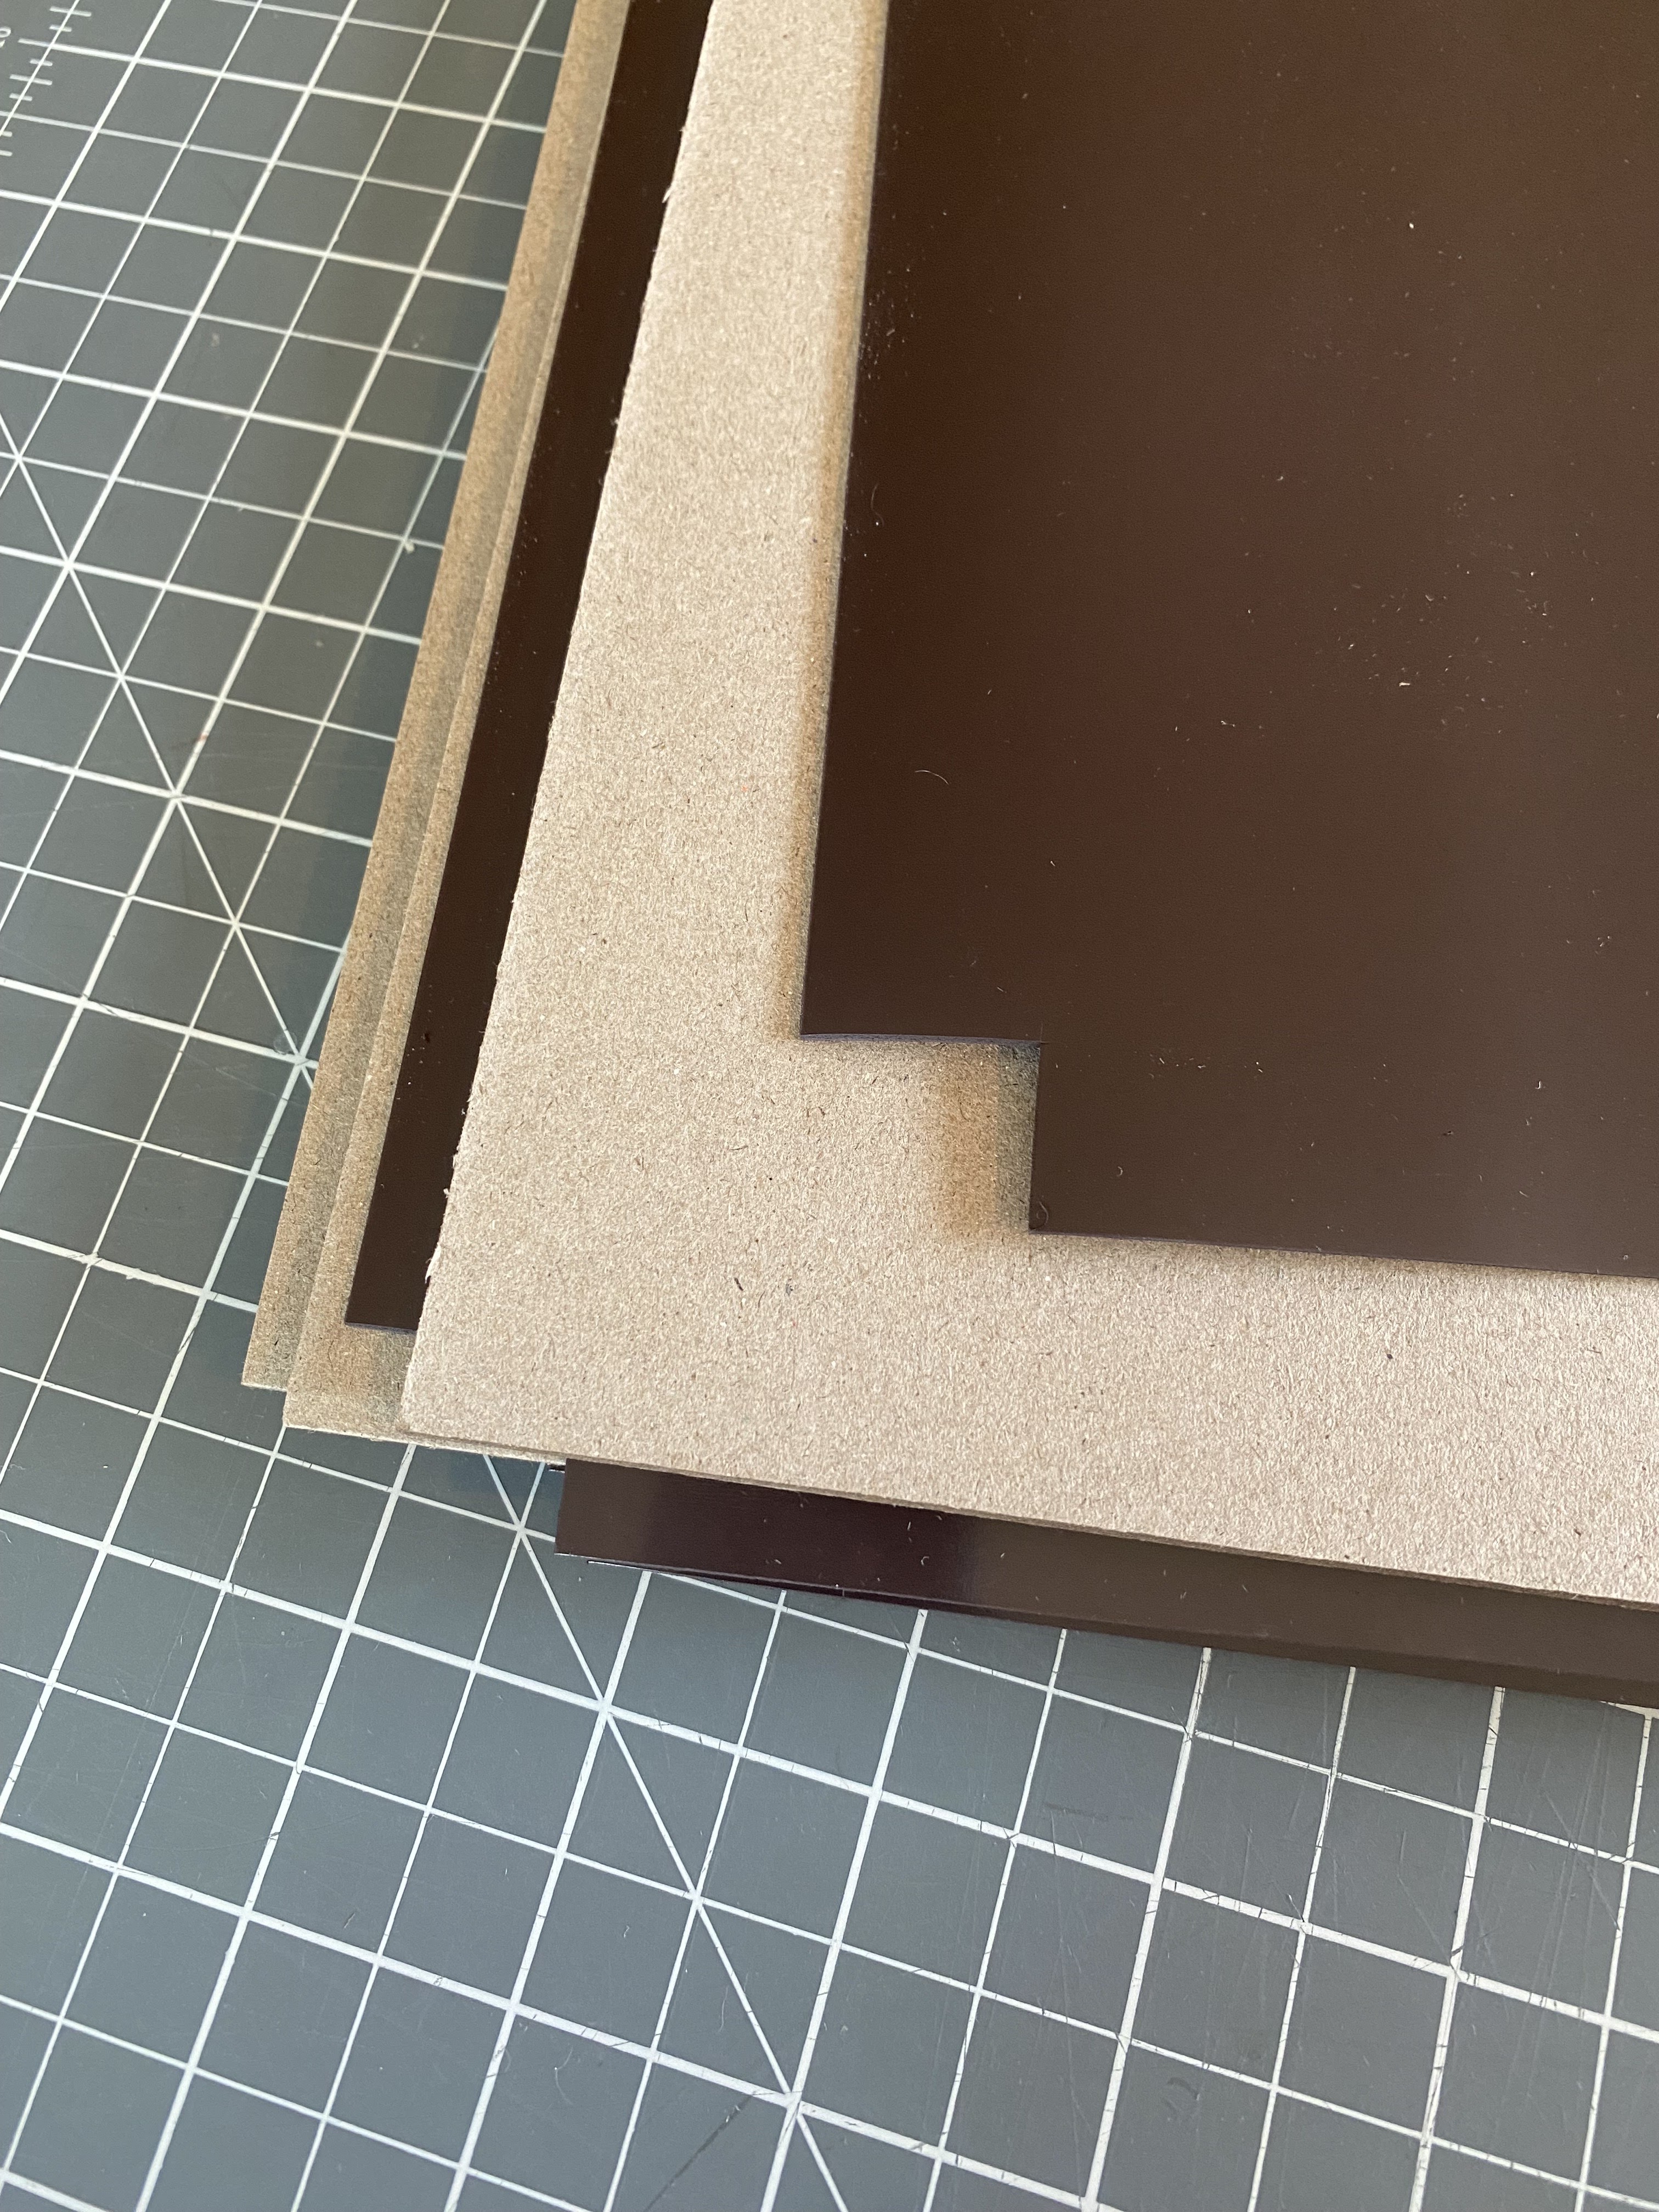
Figuring out how big to make the notches required quite a bit of trial and error, using the mistake sheets made earlier to eventually nail down exactly how big they’d need to be to allow the 3-hole punch to work properly. My 3-hole punch is a bit finicky, though. The first sheet I punched came out completely wrong, with the holes totally in the wrong places. I ended up having to make a whole new page and threw that one into the scrap pile. I adjusted the punch accordingly and got it to place the three holes in the proper position.
What I didn’t allow for was keeping the screws holding the punch together tight enough so that the holes remained where I wanted them: they moved slightly with each punch so that by the end of my project they again not where they’re supposed to be. This means that some of the pages don’t fit right in the binders. I’m pretty upset about that, truth be told. I came up with a work-around so they do work – but it’s not perfect.

Adhering the chipboard pages onto the sheets was fun: I’m really impressed with the 2-sided tape I used. Time will tell if it really holds, but for now it’s great. Peeling the paper backing off once it’s placed onto the chipboard had the potential to be frustrating beyond belief – but that’s where the YouTube video came in handy, showing me a trick to getting corner tip up so I could easily peel it all off. (hint: use a pair of fine-tipped tweezers or an X-Acto blade)


I now have two binders, each with 10 pages, just waiting for me to organize the dies! But that is a project for another weekend.

7
No comments:
Post a Comment